A Hilarious Guide to Conquering Stellar Blade's Infamous Lost Ark Quest in 2026
Alright, fellow Naytiba hunters and fashion-conscious warriors, gather 'round! If you think Stellar Blade's main story is a wild ride, just wait until you dip your toes into the side content. It's the real deal, the secret sauce that turns Eve from a cool android into a legend. Sure, you can blast through the main plot, but where's the fun in that? The real treasure, and by treasure we mean slick new gear and killer outfits for Eve, is hidden in those optional quests. Most are a walk in the park, but then there's The Lost Ark. Oh boy, this one's a doozy. It starts innocently enough and then BAM! Hits you with a puzzle that'll make you scratch your head harder than a Alpha Naytiba with an identity crisis. Don't sweat it, though. Consider this your ultimate, no-stress guide to cracking this nut wide open.
Getting the Party Started: The Lost Ark Quest
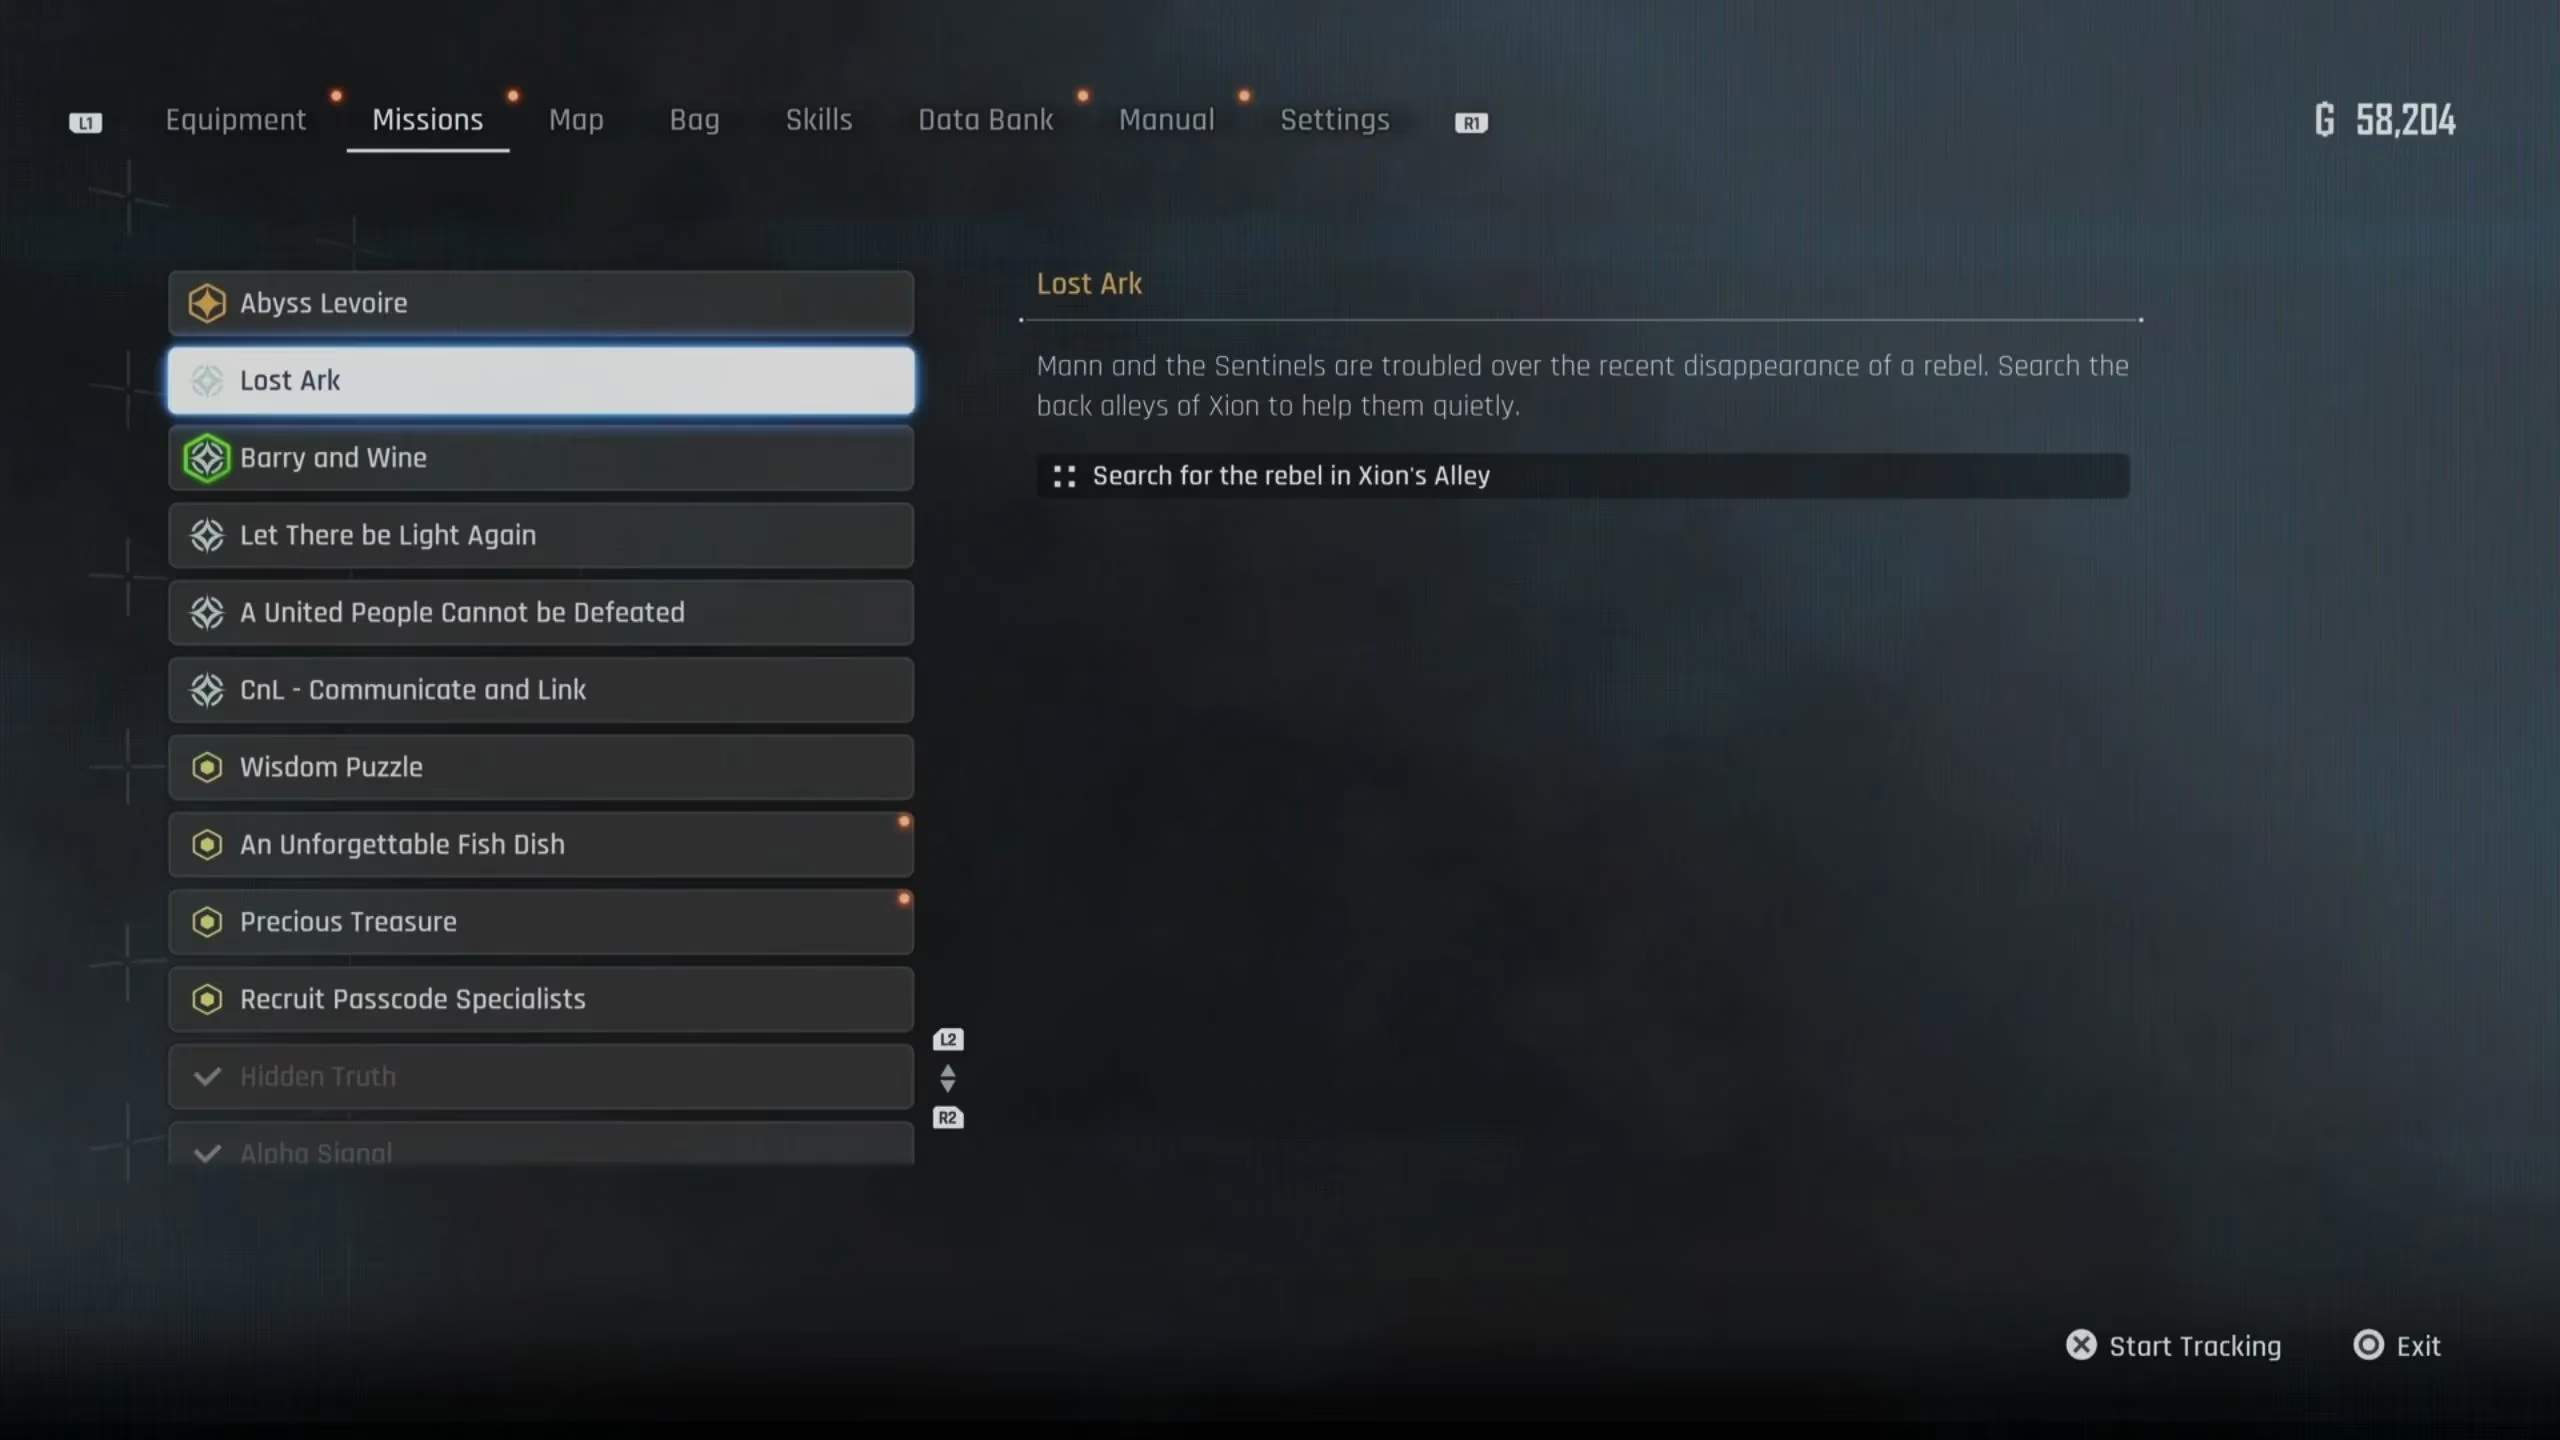
First things first, you gotta get an invite to this shindig. You can't just waltz into the desert and expect a mystery to solve itself. You must reach the Great Desert region as part of the main story. Once you've had your fill of sand and sun (or lack thereof), haul your metallic behind back to the neon-lit haven of Xion. Your destination? The hangout spot of everyone's favorite info-broker, Orcal. Now, Orcal's a busy guy, so you'll be dealing with his right-hand man, the ever-so-serious Mann. Mann's got a problem, and lucky you, he thinks you're the solution. He'll hand you the quest, tasking you with uncovering the secrets of the Ark. Easy peasy, right? Not so fast, champ! The quest marker will pop up northeast of Xion, pointing you to a... well, a deceased rebel. After paying your respects (or just scanning the poor soul), the real target is right ahead: the Ark itself. You'll find a panel, and this is where the fun begins. It demands a passcode. Access Denied! Cue the dramatic music. Luckily, a memory stick right next to it gives you the lowdown: you need to scour Xion for code fragments. The hunt is on!
Cracking the Code: The Great Xion Scavenger Hunt
This puzzle is less about brute force and more about being a tourist in a post-apocalyptic city. You need to find six panels scattered around Xion. Think of it as a pub crawl, but for ancient tech. Here's your step-by-step, foolproof itinerary:
-
Panel #1 (The Starter): From the Ark's panel, just take the stairs down. Boom, first panel. Interact for digit numero uno. Simple.
-
Panel #2 (The Coffee Run): Head southwest from your position. Everyone needs a caffeine boost, even androids. Near the coffee shop, you'll spot panel number two. Don't get distracted by the aroma of synthetic beans!
-
Panel #3 (The Waypoint Wander): Go further south towards the waypoint. It's like the game's saying, "Hey, over here!" Another panel awaits.
-
Panel #4 (The Junk Shop Jaunt): Time for some retail therapy at Sister's Junk. As you descend the stairs to the shop, keep your eyes peeled. The panel is lurking there.
-
Panel #5 (The Bulletin Board Detour): Now, head north of the Bulletin Board. Just before you reach it to check for quests, there's another panel. It's like the game is testing your focus!
-
Panel #6 (The Grand Entrance): For the final piece, make your way to the main entrance of Xion. Take the west path and follow it to the very end. The last panel is there, probably feeling lonely.
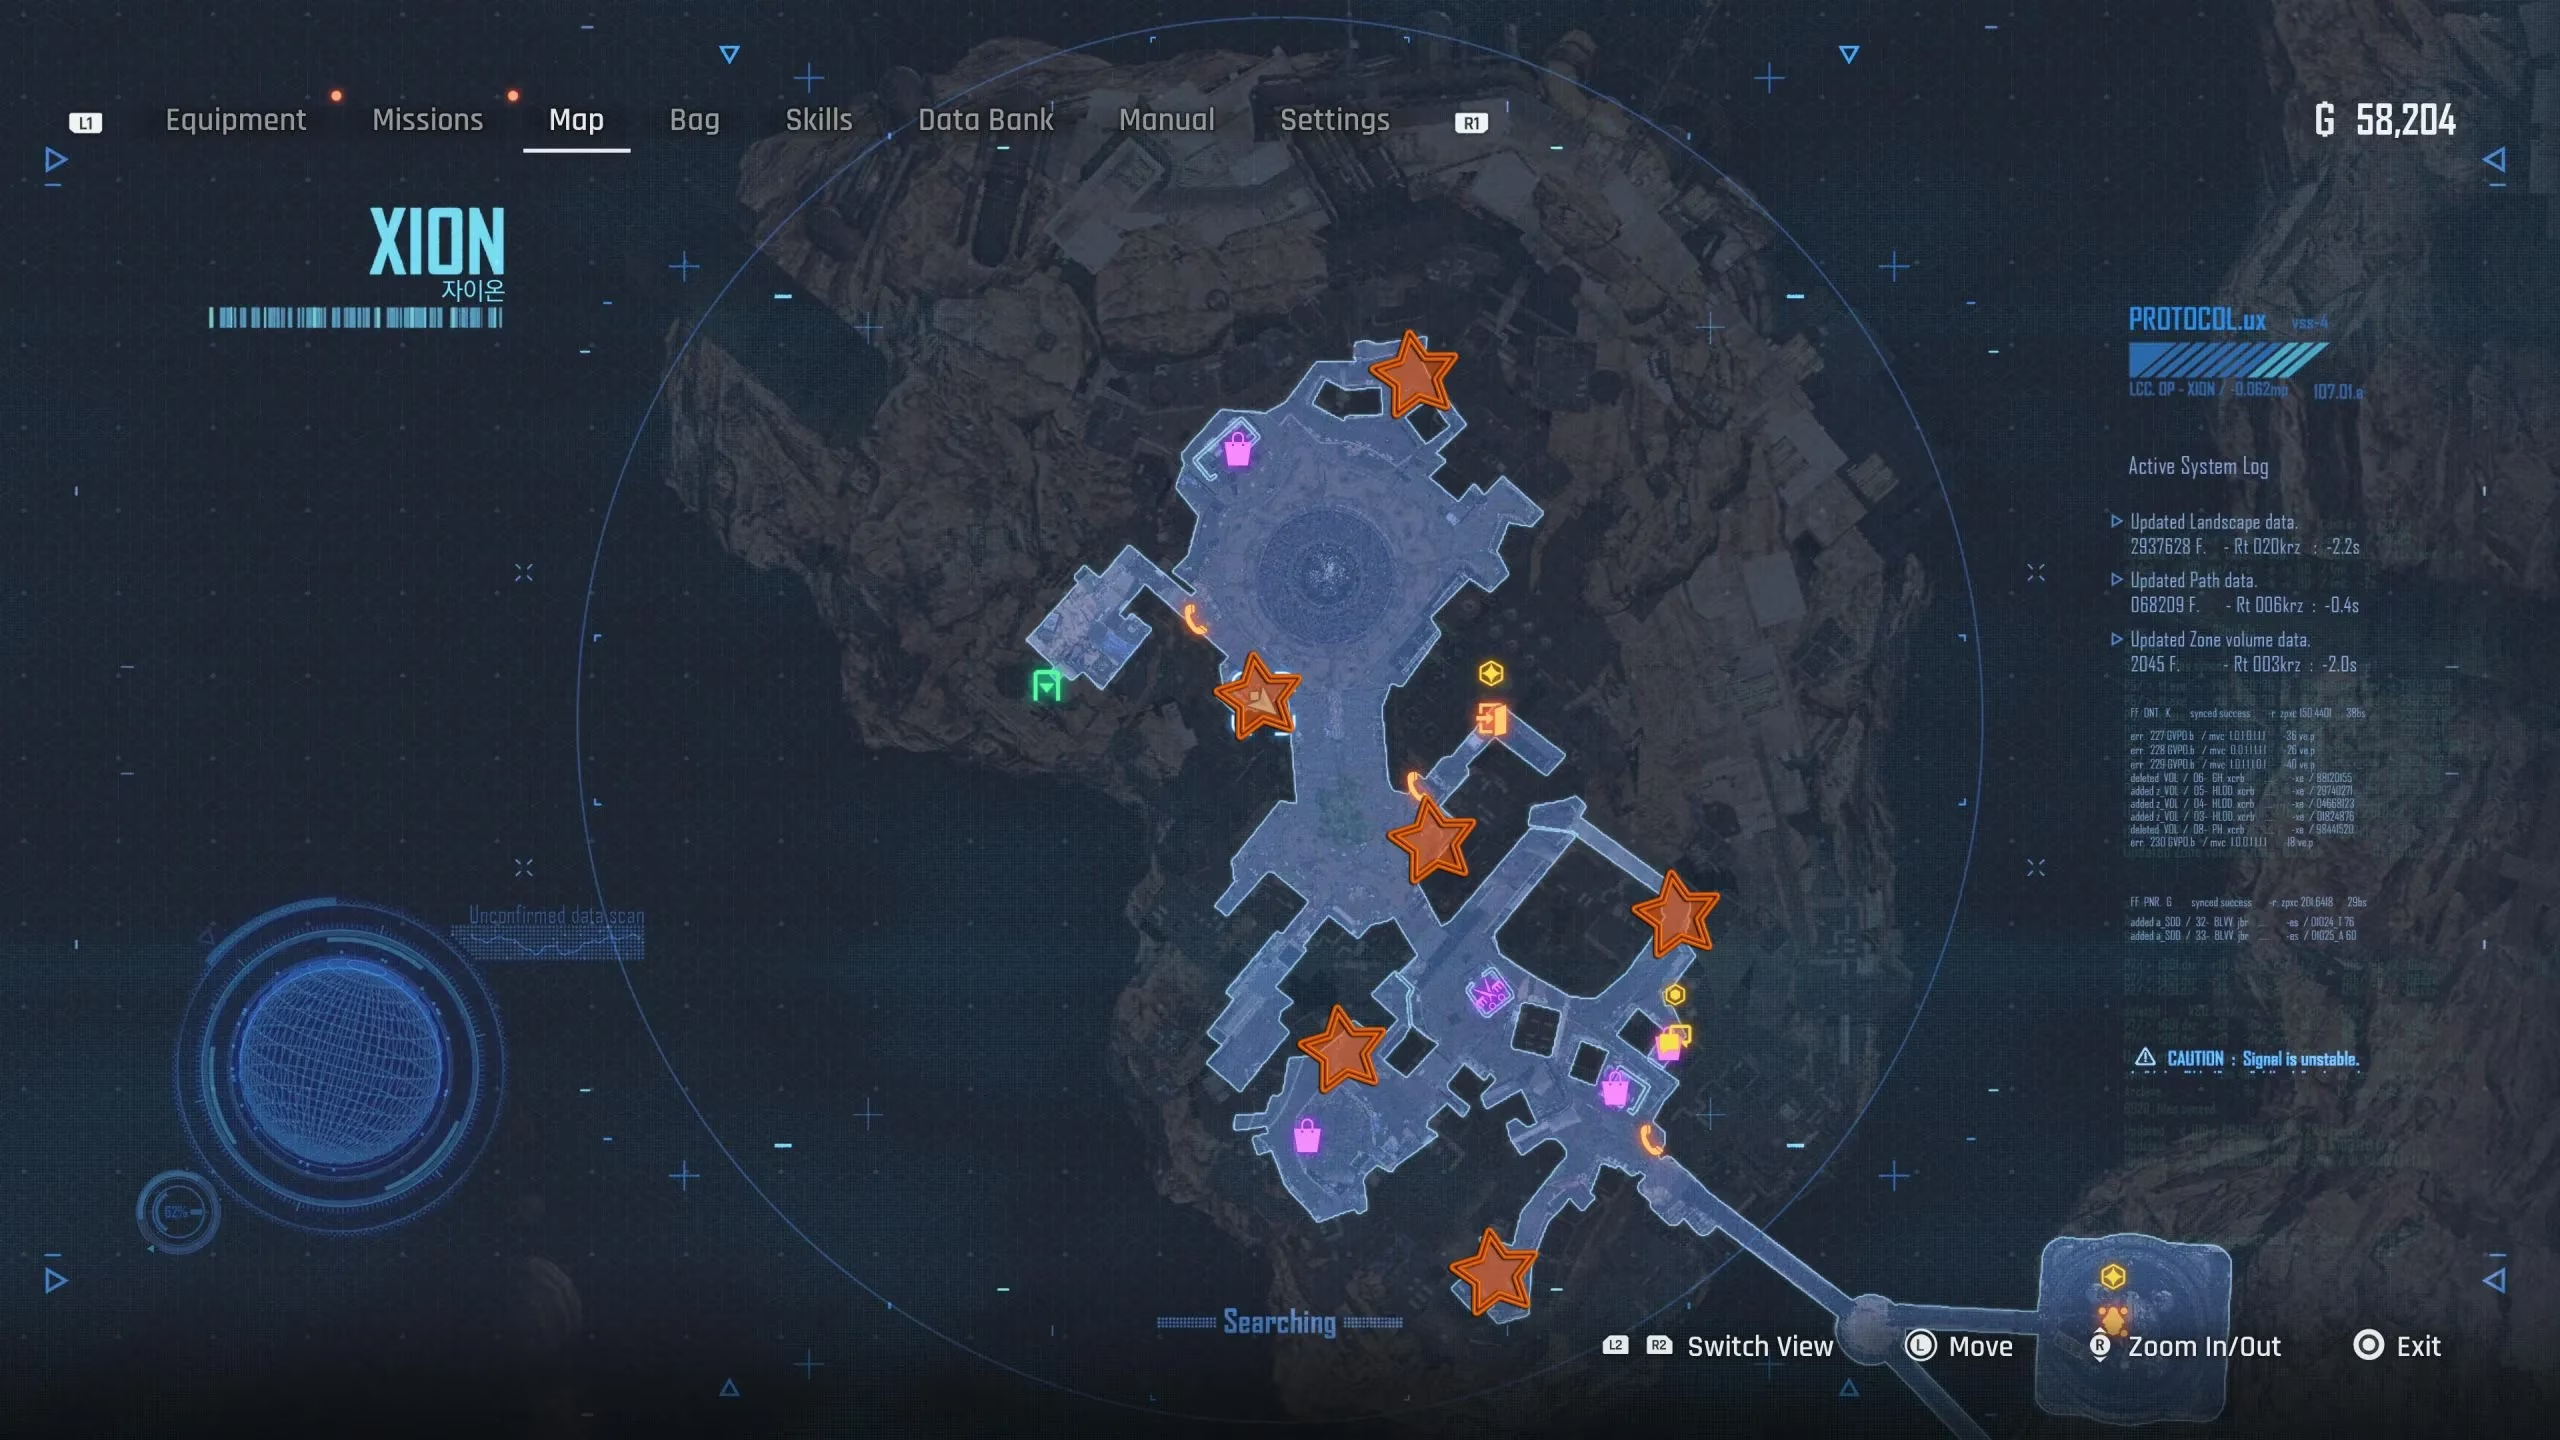
Pro-Tip: If you're the visual type (and who isn't?), the map above is your new best friend. All locations are marked with shiny stars. Can't miss 'em!
Once you've collected all six digits, it's time for the grand finale. Return to the Ark's main panel. The correct code, in order, is θμκαεγ. Type it in, hit enter, and... \ud83c\udf89 The door will swing open! \ud83c\udf89 Congratulations, you've just outsmarted ancient security protocols. You're basically a genius now.
Mission Accomplished: Inside the Ark
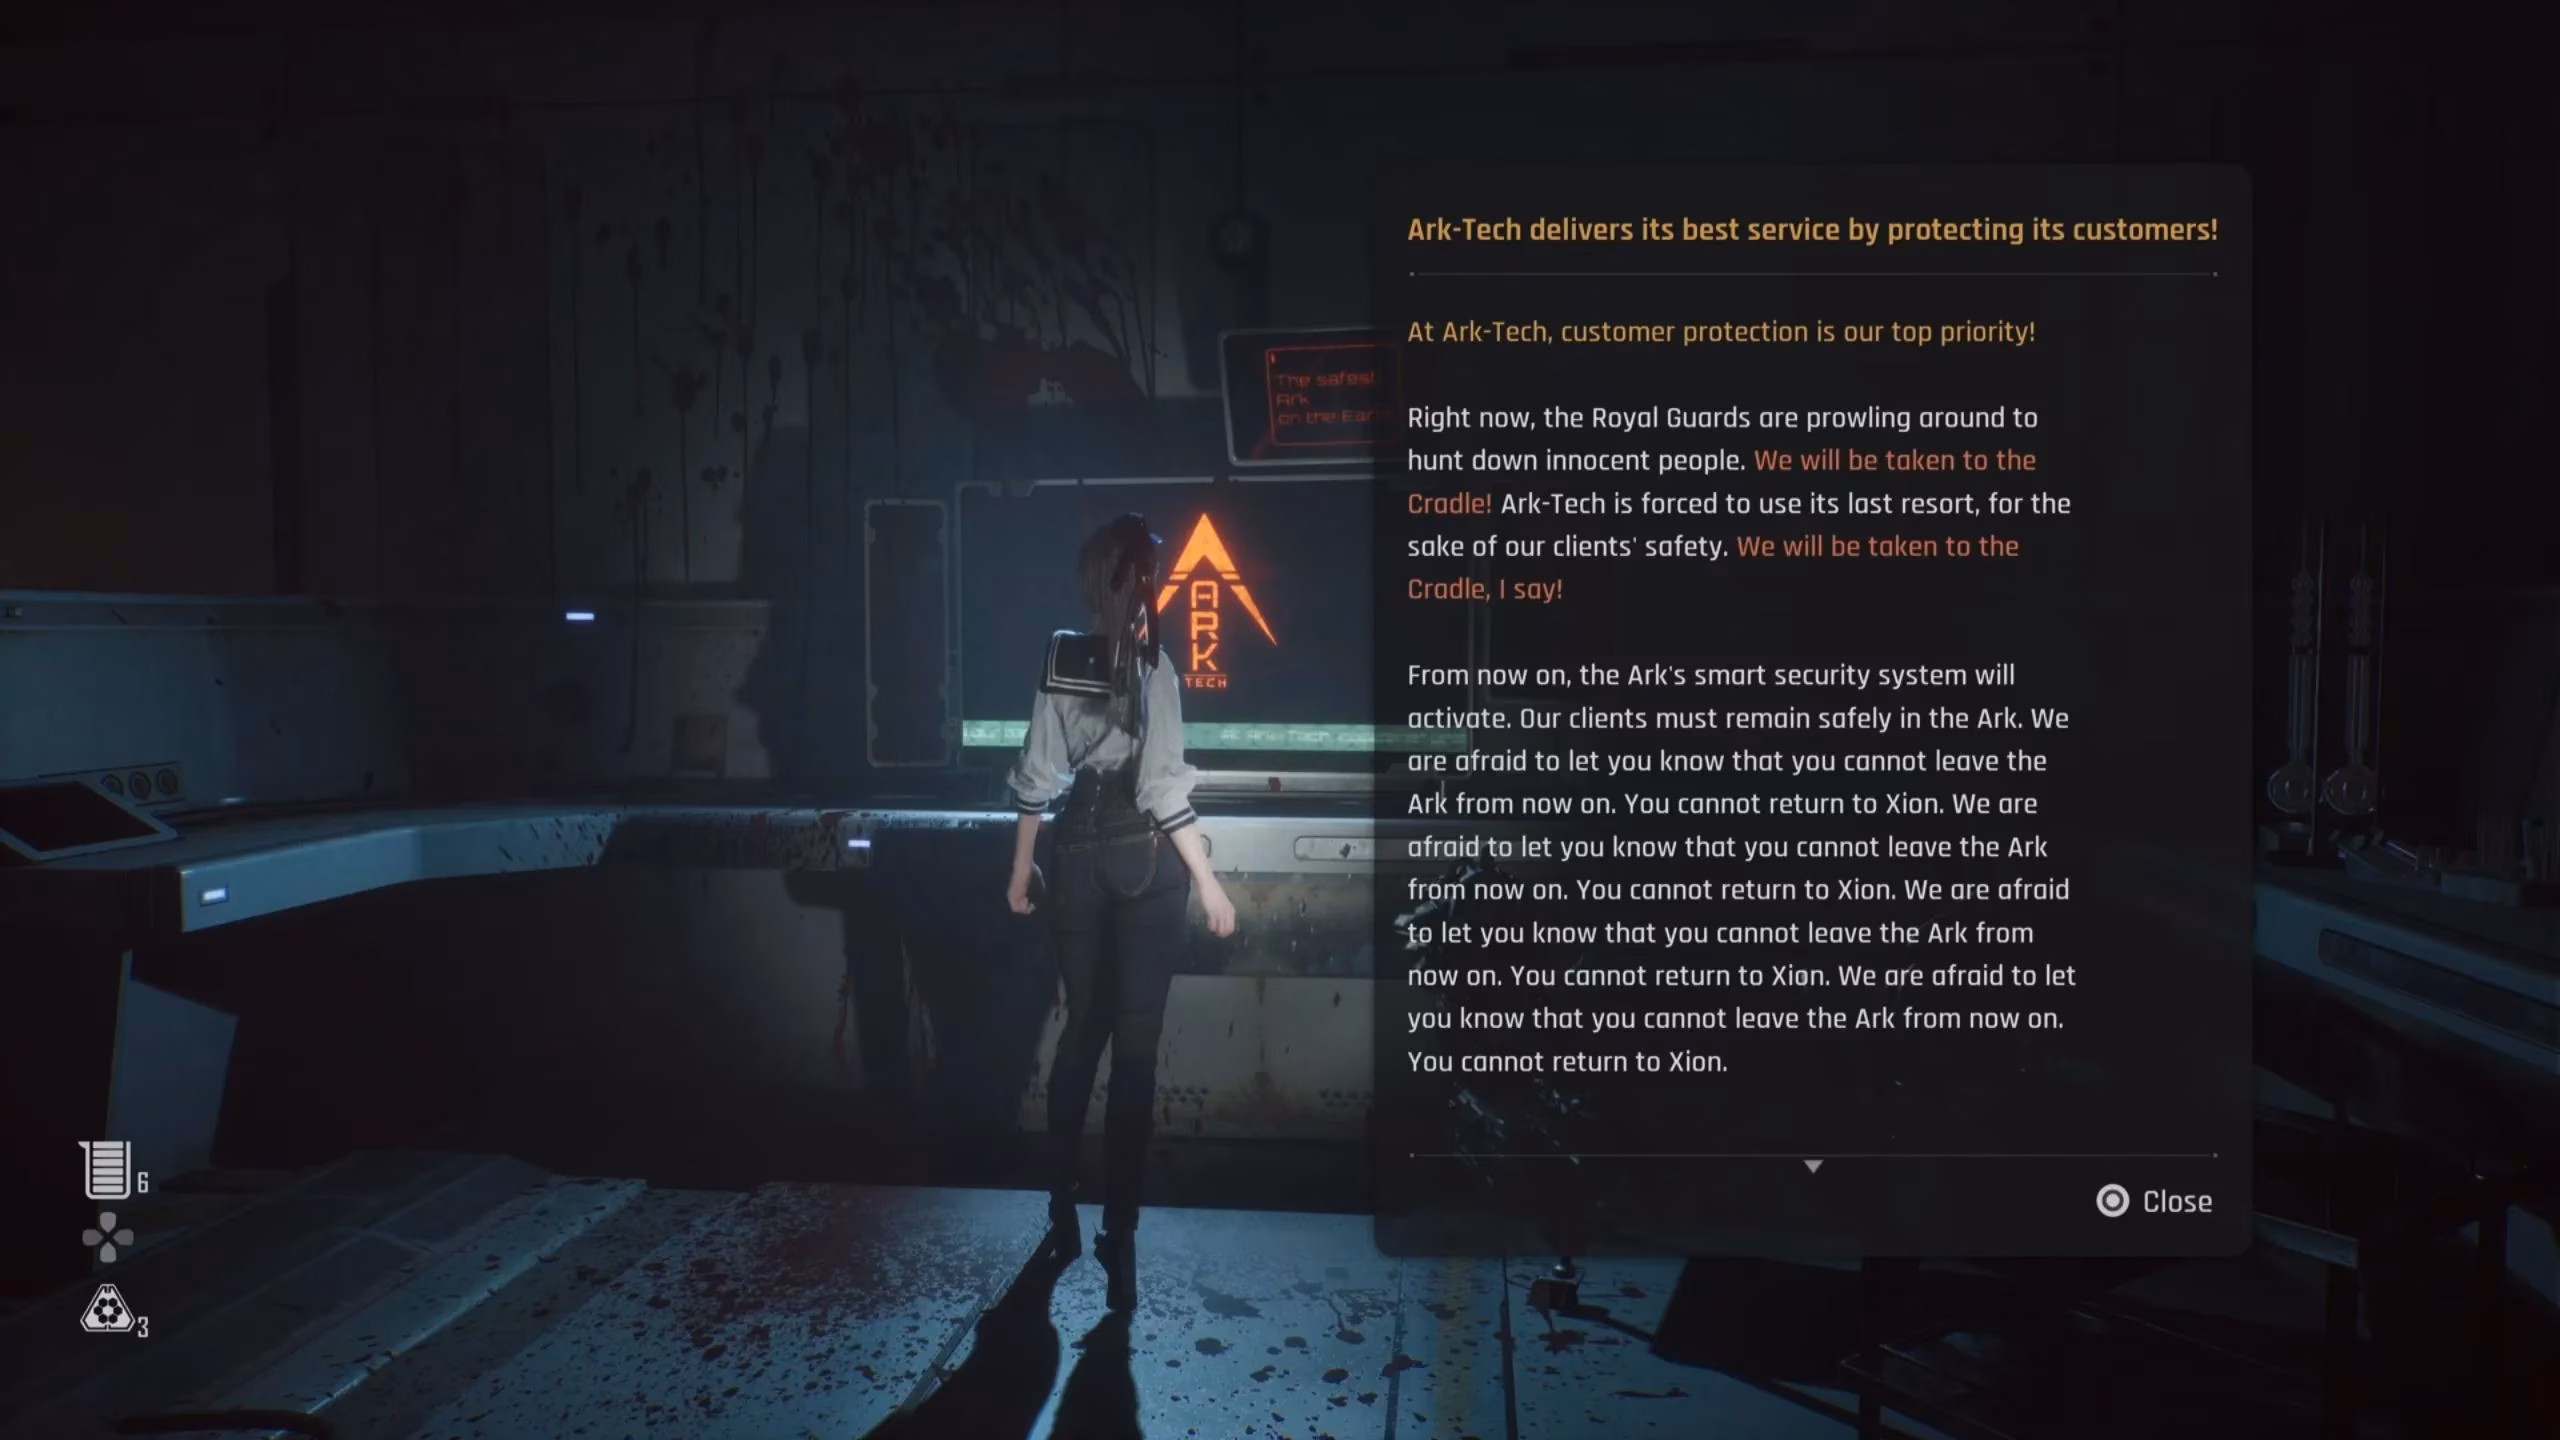
Step inside, take the elevator down (enjoy the ride), and you'll find yourself in a rather... quiet chamber. Use your scan function to highlight four bodies you need to interact with. It's a somber moment, but necessary for the data. After that, head to the control computer at the far right of the Ark and give it a poke. This, of course, triggers a blaring alarm because nothing in life is ever simple. Alert! Alert! Intruder! Time to make a swift exit.
Scan the area again, and you'll see several panels that need a good whacking. Unleash Eve's fury on them until they spark and die. Once they're toast, the elevator is your ticket out of this suddenly very loud and stressful situation. Book it!
Finally, return to Mann and give him the good (or bad) news. For your troubles, and for not getting permanently locked in an ancient tomb, you'll be handsomely rewarded. Your loot includes:
| Reward Item | Quantity | Why It's Awesome |
|---|---|---|
| SP Points | 2 | Free skill upgrades! More ways to slice and dice. |
| Shock Grenades | 2 | Perfect for giving groups of enemies a bad hair day. |
| Smart Mines | 2 | Set it and forget it. Let the mines do the work. |
| Pulse Grenades | 2 | Great for crowd control when things get too hectic. |
And there you have it! You've navigated the clues, solved the puzzle, survived the alarm, and scored some sweet loot. The Lost Ark quest is in the bag. Now go show off Eve's new gear—you've earned it! Remember, in the world of Stellar Blade, the side quests are where the real party's at. Happy hunting! \ud83d\ude09
```Expert commentary is drawn from Gamasutra (Game Developer), a leading source for developer insights and industry trends. Their articles often explore the intricate design of side quests like Stellar Blade's "The Lost Ark," emphasizing how well-crafted optional content can deepen player engagement and narrative immersion beyond the main storyline.